Houseplant Repotting Guide: Your Step-by-Step Manual for Thriving Indoor Plants
- Nature Elegance
- Mar 17, 2025
- 4 min read

Houseplants are a wonderful addition to any home, bringing beauty and life into our living spaces. However, they require a little bit of care and maintenance to ensure they continue to thrive. One essential skill every indoor gardener should master is repotting. This guide will provide a step-by-step approach to repotting your houseplants, including when and how to repot, the tools you need, and tips for success.
When to Repot Your Houseplants
Understanding when to repot is crucial for the health of your plants. Generally, you should consider repotting under the following circumstances:
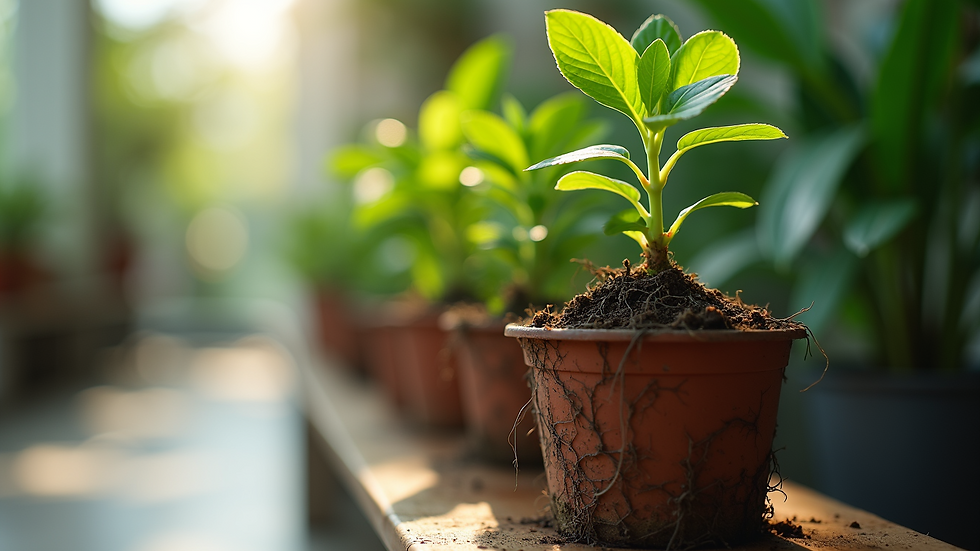
Root Bound: If you notice roots growing out of the drainage holes or circling the surface of the soil, it’s time for a new pot.
Soil Degradation: Over time, soil can break down and lose nutrients. If the soil appears compacted or is more than a couple of years old, repotting will refresh your plant's growing environment.
Seasonal Growth: The best time to repot most plants is during their active growing period, usually spring or early summer.
Pest Infestation: If you find pests in the soil, repotting can help eliminate them and provide fresh, clean surroundings for your plant.
If you're ever unsure, inspecting your plant's roots can help determine if it’s time to repot. The roots should be white and healthy-looking, not brown and mushy, which indicates rot due to overwatering.
Tools Needed for Repotting
Before diving into the actual repotting process, gather the necessary tools. Here’s what you’ll need:
New Pot: Choose a pot that is one size larger than the current one. Make sure it has drainage holes.
Potting Soil: Use a high-quality potting mix suitable for your specific plant type. Cacti and succulents, for example, require different soil compared to tropical plants.
Trowel or Hand Shovel: This will help you scoop out the old soil and add new soil.
Watering Can: After repotting, give your plant a good drink.
Garden Gloves: These can help protect your hands from soil and any potential irritants.

Having these tools at your side will make the process smoother and more efficient.
Step-by-Step Process of Repotting
Repotting may seem daunting at first, but following these simple steps can ease the process:
Step 1: Prepare the New Pot
Start by placing a layer of fresh potting mix at the bottom of your new pot, about an inch deep. This will provide a good base for your plant.
Step 2: Remove the Plant from Its Current Pot
Gently squeeze the sides of the current pot to loosen the soil. Carefully tilt the pot upside down while supporting the plant at the base. If the plant doesn’t come out easily, use your trowel around the edges to help free it.
Step 3: Inspect the Roots
Once the plant is out, check the root system. Trim away any brown or mushy roots with sterilized scissors. This will promote healthier growth.
Step 4: Place the Plant in the New Pot
Position the plant in the center of the new pot. Make sure the top of the root ball is a little below the rim of the pot to allow space for watering.
Step 5: Fill with Fresh Soil
Carefully add the new potting soil around the plant, gently tapping the sides to eliminate air pockets. Leave about an inch of space from the top.
Step 6: Water Thoroughly
After repotting, water generously. This helps settle the soil around the roots and provides hydration after the stress of repotting.

Tips for Successful Repotting
Choose the Right Time: Always aim to repot during the plant’s active growth season to minimize stress.
Avoid Overpotting: Picking a pot that is too large can lead to overwatering and root rot, as the plant may not absorb water effectively.
Be Gentle: Handle the plant delicately throughout the process. Rough treatment can damage fragile roots.
Consider Plant Type: Different plant species have unique needs. Research specific care requirements for your plants before repotting.
Maintaining Your Repotted Houseplants
Proper care following repotting is just as important to ensure your plant settles well. Some recommendations include:
Light: Keep your plant in a location with bright, indirect sunlight, especially for a few weeks post-repotting.
Fertilizing: Wait about a month before fertilizing, as the new soil will contain fresh nutrients.
Watering: Ensure the soil stays moist but not soggy. Always check the top inch of soil before watering again.
Remember, every plant is different. Observing your plant’s behavior and adjusting care as needed will lead to success.
Final Thoughts on Houseplant Repotting
Repotting your houseplants may seem like a chore, but it is vital for their overall health and growth. With the right tools and techniques, you can ensure that your green friends continue to flourish in their new homes. Keep an eye on your plants and enjoy watching them thrive!
By mastering the art of repotting and implementing the tips provided in this guide, you’ll be well on your way to maintaining a lush indoor garden. Happy gardening!


Comments