How to Repot Without Making a Mess in an Apartment
- Nature Elegance
- Nov 5, 2025
- 4 min read

Repotting your plants can be a rewarding experience, especially when you see them thrive in a new pot. For apartment dwellers, busy professionals, and beginner plant owners, the idea of repotting might come with hesitation due to the anticipated mess. But fear not! With the right tools and a few handy tips, you can repot your plants without creating chaos in your living space.
What You Need Before You Start
Preparation is key to a successful repotting session. Here’s a checklist of items you’ll need:
New pot: Choose one that is slightly larger than the current pot with proper drainage holes.
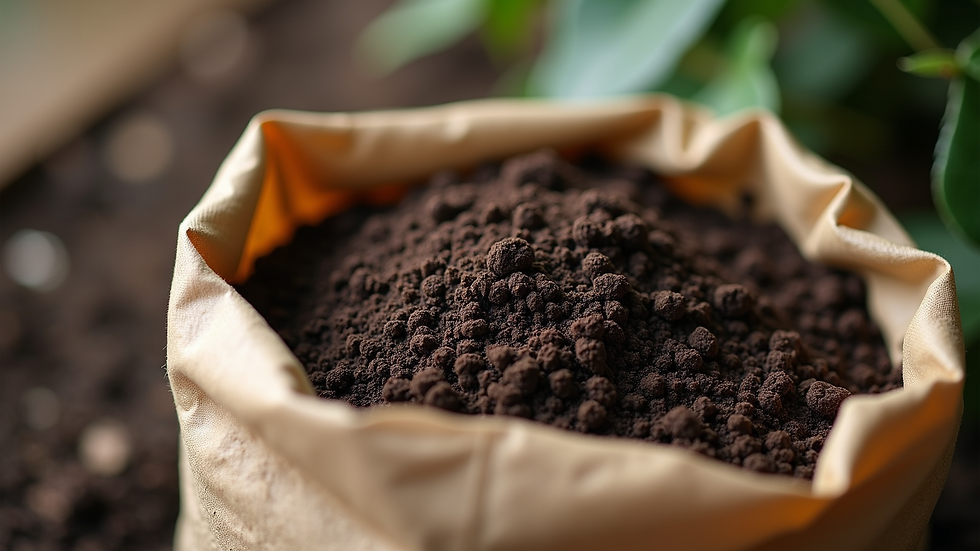
Potting mix: A good quality potting mix helps ensure your plants thrive.
Trowel or small shovel: Helps transfer soil.
Plastic sheet or tarp: Protects your floor and makes cleanup easier.
Watering can: For watering your plant after repotting.
Eco-friendly cleanup products: Biodegradable cleaners will help you clean up without harming the environment.
Set Up Your Space
Creating a designated repotting area is crucial for minimizing mess. Clear a space in your apartment where you can work efficiently. If you have a balcony or patio, that can be ideal, but if you’re indoors, choose an area with easy access to water and good light.
Lay down the plastic sheet or tarp on the floor to catch any soil that spills out. This simple step makes cleanup significantly easier and allows you to focus on the task at hand rather than worrying about dirt getting everywhere.
Tips for Choosing the Right Potting Mix
Different plants have different needs. When selecting your potting mix, keep the following in mind:
Succulents and cacti need a well-draining mix. Look for options specifically tailored for these plants.
Houseplants like pothos or philodendron thrive in lightweight mixes that retain some moisture but also drain well.
Herbs benefit from a high-quality organic mix that provides nutrients.
Choosing the right mix not only enhances your plant's health but also minimizes mess during repotting.
Step-by-Step Guide to Repotting
Now that you have gathered your materials and set up your space, let’s dive into the repotting process. Follow these steps for a smooth experience.
Step 1: Prepare the New Pot
Begin by adding a layer of potting mix to the bottom of your new pot. This should be about an inch deep. Having a solid base will help with drainage and prevent soil from washing out of the drainage holes.

Step 2: Remove the Plant from the Old Pot
Gently tap the old pot to loosen the root ball. If the plant is stuck, you can try running a blunt knife around the edges to help release it. Be careful not to damage the roots. Once it’s out, inspect the root system for any signs of rot or disease.
Step 3: Place the Plant in the New Pot
Position your plant in the center of the new pot above the base layer of soil. Make sure the top of the root ball is level with the rim of the pot. Fill in the sides with more potting mix, packing it down lightly to remove any air pockets. Avoid overpacking, as this can lead to poor drainage.
Step 4: Water the Plant
After filling in the soil, give the plant a good watering. This helps settle the soil and provides hydration after the transplant. Be sure to let the excess water drain out through the holes at the bottom of the pot.
Step 5: Clean Up
Carefully lift the plastic sheet or tarp to gather any spilled soil. Dispose of it in an eco-friendly manner. If you used any biodegradable cleaning products during cleanup, rinse the area lightly with water once you're done repotting.
Space-Saving Tools for Indoor Gardening
For small apartment spaces, consider investing in tools that streamline the process and help you manage your plants better. Here are a few recommendations:
Hanging Planters: They're perfect for incorporating greenery without taking up floor space. Consider macramé plant hangers or wall-mounted shelves for a stylish look.
Multi-tiered Plant Stands: They allow you to maximize vertical space while keeping your plants organized and accessible.
Small-Scale Watering Can: Choose a compact design that makes it easy to reach plants on higher shelves or hanging planters.
Using these tools can make your indoor gardening experience more enjoyable and less cluttered.
Plant Care After Repotting
Once you’ve successfully repotted your plant, it’s essential to give it proper care to help it adjust to its new environment. Here are a few tips:
Avoid direct sunlight: Place your newly repotted plant in a location with bright but indirect light for the first week. This helps it recover from the shock of repotting.
Monitor moisture levels: Keep an eye on the soil moisture. The repotted plant may require more frequent watering initially, but be careful not to overwater.
Fertilize: After a month, consider using a diluted general-purpose fertilizer to provide the nutrients your plant needs to grow in its new home.
Eco-Friendly Cleanup Options
In keeping with sustainability, opt for eco-friendly solutions for any mess created during repotting. Consider the following:
Compost: If you have plant trimmings or old soil that is free of pests or diseases, composting is a great way to recycle nutrients back into the earth.
Natural Cleaning Products: Use vinegar and water or baking soda to clean your repotting area. These options are both effective and environmentally friendly.

Wrapping It Up
Repotting does not have to be a messy task, especially when you live in an apartment. With proper planning and the right tools, you can successfully repot your plants without creating chaos in your living space. Remember to prepare your area, choose quality materials, and give your plants the right care afterward.
Your plants will reward you for your efforts, showing vibrant growth in their new homes. As you continue your indoor gardening journey, keep these tips in mind to make repotting a breeze. Happy planting!


Comments